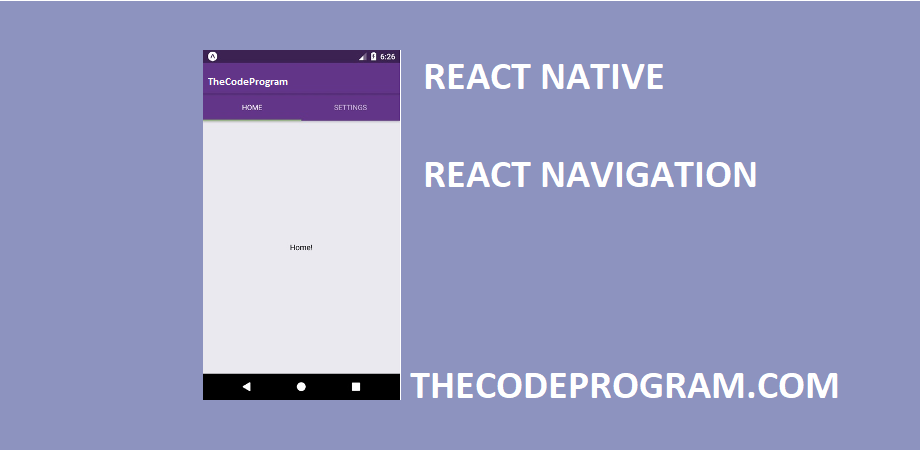
React Native - How to configure and use React Navigation
Hi everyone, In this article we are going to talk about React Navigation in React Native. What is React Navigation? How can we install and configure and how can we use it ?Firstly I want to talk about What React Navigation is ?
React Navigation is an easy-to-use JavaScript plugin to move screens expected. React Navigation has developed as entirely native.
Now Let's get started configuring React Navigation.
VERY IMPORTANT NOTE: I have installed on RN 0.60 version. Installation can be changed for different versions. I have copied the installation guide from official React Navigation page today / 15.07.2019. I recommend to check React Navigation Official page.
Here is the link: https://reactnavigation.org/docs/en/getting-started.html
Install the react-navigation package in your React Native project.
I recommend start command prompt as administrator in Windows.
# If you use the yarn use this code
yarn add react-navigation

# or if you use the npm do this with npm
npm install react-navigation
Next, install react-native-gesture-handler. If you’re using the Expo managed workflow then you don’t need to do anything here, it’s included in the SDK. Otherwise:
# If you use the yarn use this code
yarn add react-native-gesture-handler

# or if you use the npm do this with npm
npm install react-native-gesture-handler
On React Native >= 0.60, linking is automatic. If you're on an older React Native version, you need to manually link it. If there is a problem on this step you need to restart command promt as administrator . To do that, run:
react-native link react-native-gesture-handler
No additional steps are required for iOS.
To finalise installation of react-native-gesture-handler for Android, be sure to make the necessary modifications to MainActivity.java :
package com.reactnavigation.example;

import com.facebook.react.ReactActivity;
+ import com.facebook.react.ReactActivityDelegate;
+ import com.facebook.react.ReactRootView;
+ import com.swmansion.gesturehandler.react.RNGestureHandlerEnabledRootView;

public class MainActivity extends ReactActivity {

  @Override
  protected String getMainComponentName() {
    return "Example";
  }

+  @Override
+  protected ReactActivityDelegate createReactActivityDelegate() {
+    return new ReactActivityDelegate(this, getMainComponentName()) {
+      @Override
+      protected ReactRootView createRootView() {
+       return new RNGestureHandlerEnabledRootView(MainActivity.this);
+      }
+    };
+  }
}
Use jetifier to work around libraries using the support library on Android:
Add jetify under scripts.postinstall in your package.json:
"scripts": {
  "postinstall": "jetify"
}
Then install it (make sure to run this after adding the postinstall script)::
yarn add --dev jetifier
# or with npm
npm install jetifier
Finally, run react-native run-android or react-native run-ios to launch the app on your device/simulator.
Hybrid iOS Applications (Skip for RN only projects)
If you're using React Navigation within a hybrid app - an iOS app that has both Swift/ObjC and React Native parts - you may be missing the RTCLinkingIOS subspec in your Podfile, which is installed by default in new RN projects. To add this, ensure your Podfile looks like the following:
pod 'React', :path => '../node_modules/react-native', :subspecs => [
    . . . // other subspecs
    'RCTLinkingIOS',
    . . .
  ]
You're good to go! Now we have installed React Navigation. Let's make an example now.
First we need to import react Navigation libraries.
import { createStackNavigator, createAppContainer } from "react-navigation";
After importing libraries. Now create the react screens. In App.js file we can create all classes seperately.
 import React from "react";
import { View, Text } from "react-native";
import { createStackNavigator, createAppContainer } from "react-navigation";

class HomeScreen extends React.Component {
         render() {
                  return (
                         <View style={{ flex: 1, alignItems: "center", justifyContent: "center" }}>
                                    <Text>Home Screen</Text>
                           </View>     );
                  }
}

class DetailScreen extends React.Component {
         render() {
                  return (
                         <View style={{ flex: 1, alignItems: "center", justifyContent: "center" }}>
                                    <Text>Home Screen</Text>
                           </View>     );
                  }
}

class ChatScreen extends React.Component {
  static navigationOptions = ({ navigation }) => {
    return {
      title: navigation.getParam('ChatPageTitle', 'IfThereIsNoTitle'),
      headerLeft: (
        <Image
          source={{ uri: navigation.getParam('ChatPageAvatar', 'IfThereIsNoTitle') }}
          //source={require('./images/social/facebook.png')}
          style={{marginLeft: 15, width: 30, height: 30 }}
        />
      ),

    };
  };

  render() {
    /* 2. Get the param, provide a fallback value if not available */
    const { navigation } = this.props;
    const chatUserId = navigation.getParam('userId', 'NO-ID');
    const chatUserAvatar = navigation.getParam('ChatPageAvatar', 'no avatar');
    const chatUserTitle = navigation.getParam('ChatPageTitle', 'some default value');

    return (
      <View style={{ flex: 1, alignItems: 'center', justifyContent: 'center' }}>
        <Text>Chat Screen</Text>
        <Text>itemId: {JSON.stringify(itemId)}</Text>

        <Text>chatUserAvatar: {JSON.stringify(chatUserAvatar)}</Text>
        <Text>chatUserId: {JSON.stringify(chatUserId)}</Text>
        <Text>chatUserTitle: {JSON.stringify(chatUserTitle)}</Text>

        <Button
          title="Go to Details"
          onPress={() =>
            this.props.navigation.push('Details', {
              itemId: Math.floor(Math.random() * 100),
            })}
        />
        <Button
          title="Go to Home"
          onPress={() => this.props.navigation.navigate('Home')}
        />
        <Button
          title="Go back"
          onPress={() => this.props.navigation.goBack()}
        />
      </View>
    );
  }
}


const AppNavigator = createStackNavigator(
  {
    Home: HomeScreen,
    Details: DetailsScreen,
    Chat: ChatScreen
  },
  {
    initialRouteName: "Home"
  }
);

export default createAppContainer(AppNavigator);
Above code have three screens classes. Bottom of the code we have ceated an AppNavigator with createStackNavigator. We selected HomeScreen as initialRoute Screen. This means when the Appnavigator started Home screen will show firstly.
In ChatScreen class we have examples about passing parameters between screens.
       <Button
          title="Go to Details"
          onPress={() =>
            this.props.navigation.push('Details', {
              itemId: Math.floor(Math.random() * 100),
            })}
        />
In above code block we are navigating to the DetailsPage. In AppNavigator we have created DetailsScreen named as Details. So we must call this screen as Details in this function. Also we are passing a data named itemId to the DetailsPage. When we pressed the Button screen will go to the DetailsPage with itemId parameter.
Also we have a goBack() function in our ChatScreen. Now let's take a look at it.
<Button
          title="Go back"
          onPress={() => this.props.navigation.goBack()}
        />
When we use this goBack() function our program will go to last screen and remove current screen from memory. When we use navigate to go another screen program will keep current screen in memory and go new screen. When we use the goBack() program will go last screen and clean current screen.
What If we want to just go to another screen without parameters ?
<Button
          title="Go to Home"
          onPress={() => this.props.navigation.navigate('Home')}
        />
Here is the a navigate example. This example has no parameters. This code block will navigate new screen without parameter.
Now lets configure header bar on the pages.
static navigationOptions = ({ navigation }) => {
    return {
      title: navigation.getParam('ChatPageTitle', 'IfThereIsNoTitle'),
      headerLeft: (
        <Image
          source={{ uri: navigation.getParam('ChatPageAvatar', 'IfThereIsNoTitle') }}
          style={{marginLeft: 15, width: 30, height: 30 }}
        />
      ),

    };
  };
Under the ChatScreen class there is an object named navigationOptions declerated as static. In here we have specified name of the screen and the left logo of the hader. In here I specified the person that I am chatting with. I have send the Image profile link and name of person from the before page. In here CSS rules will be enough.
So If we want to set a default configuration.
defaultNavigationOptions: {
      headerStyle: {
        backgroundColor: '#f4511e',
      },
      headerTintColor: '#fff',
      headerTitleStyle: {
        fontWeight: 'bold',
      },
    },
Then we need to put this code block under the options section in AppNavigator. Our AppNavigator code block will be like below.
const AppNavigator = createStackNavigator(
   {
     Home: HomeScreen,
     Details: DetailsScreen,
     Chat: ChatScreen
   },
   {
     initialRouteName: "Home",

     defaultNavigationOptions: {
      headerStyle: {
        backgroundColor: '#f4511e',
      },
      headerTintColor: '#fff',
      headerTitleStyle: {
        fontWeight: 'bold',
      },
    },
   }
 );
This view will be default now and if we want to specify for the page, we need to declera under all pages.
Thats all for this article.
Keep following my posts.
Have a nice coding...
Burak hamdi TUFAN.
Tags
Share this Post
Author

I am a software developer experienced 15 years and here to share all my programming experiences. I have worked on so many platforms and programming languages especially C, C#, C++ and Java. I am studing PhD at Kocaeli University on Aviation Technologies. I am building softwares and technologies on aviation.

AsyncStorage in React Native

Comments