Detailed Explanation of .htaccess File
Hello everyone, in this article we are going to talk about .htaccess file in PHP websites. When you built a website that runs with PHP language you may see the .htaccess fle in the file exploer at the CPanel. Here today I will explain what it is and what it does.Let's get started.
First what is .htaccess file?
HtAccess stands for Hyper Text Access. That file controls the client access requests for the target files. Normally it will be inside at all folders in your server but the developers place them where they need. Generally the developer place that folder inside the public_html or www folder which place the website file and folders. Also due to this file started with a dot (.) this file is hidden. Mostly operating systems hide the files which starts with dot. So you can not see this file directly when you opened the CPanel File Browser but you can reach this related file via writing it in file browser adress or you can enable to show file via Preferences and Show Hidden Files options.
.htaccess file is a configuration file that determines the response of the website according to web requests. This file rewrites the server directory tree through the web site URL. With the htaccess configuration you can create a custom error pages, rewrite your URLs, and you can add or remove backslashes end of the URL. You can set a password for the specified directory through the .htpasswd file. You can restrict some directories and files with htaccess file.
If you do not have a .htaccess file you ca create one via a text editor in your computer or in the cpanel. Do not forget the save it in ASCII format.
You can handle website errors with .htaccess files.

When some error occured in your website, your website will respond some error code and you can handle these errors via .htaccess file. These errors can be fired from the client side or the server side. For example if the user can not find a page the server will return a 404 error or if the user forbidden to see some pages, the user will see the 403 error.
Below table you can see the error codes:
Client Errors
| Error Code | Error Description |
|---|---|
| 400 | Bad Request |
| 401 | Authorization Required |
| 403 | Forbidden |
| 404 | Not Found |
| 405 | Method Not Allowed |
| 406 | Not Acceptable (encoding) |
| 407 | Proxy Authentication Required |
| 408 | Request Timed Out |
| 409 | Conflicting Request |
| 410 | Gone |
| 411 | Content Length Required |
| 412 | Precondition Failed |
| 413 | Request Entity Too Long |
| 414 | Request URI Too Long |
| 415 | Unsupported Media Type |
Server Caused Errors
| Error Code | Error Description |
|---|---|
| 500 | Internal Server Error |
| 501 | Not Implemented |
| 502 | Bad Gateway |
| 503 | Service Unavailable |
| 504 | Gateway Timeout |
| 505 | HTTP Version Not Supported |
If you do not specify any custom error handling, your browser will show the default error pages.
And if you want to define some error handling just write configurations inside .Htaccess like below:
ErrorDocument 403 /403.html
ErrorDocument 404 /404.html
ErrorDocument 500 /505.html
Also you can change the index directory of your web page. It is defaultly named as index.php or index.html. You can change it with below code block.
DirectoryIndex default.php
How can we use password protection for our websites:
You can keep the username and password data in .htpasswd file. You can locate the .htpasswd file at same directory with the .htaccess. You can keep the required information like below:.htpasswd
username:encryptedpassword
For example:
.htpasswd
thecodeprogram:encryptedpassword
The password will be stored in the file as encrypted. When you enter your password to store it will be hashed before to be stored. When the user try to enter the password protected location, the password will be requested and after entering it will be hased with the same encriyption method. You can write every lines for every user.
There are some encryption methods exist like md5(), bhash(), crypt(). SHA ... You can chose one of them. You can make it in command line or any encryption utilities.
You can create a .htpasswd file in your computer with a text editor and upload it with FTP application or create it directly in CPanel.
AuthUserFile /usr/local/etc/.htpasswd
AuthName "Name of Secure Area"
AuthType Basic
#it can be work with only GET or POST
<Limit GET POST>
require user thecodeprogram
</Limit>
How to enable SSI (Server Side Includes)
The SSI stands for Server Side Includes. SSI has own programming language and it runs at the server. With SSI the html parts or scripts which is placed at another pages or PHP functions can be used at another pages. We can use a single PHP function to show in another page. As a result we can re-use our common components and parts.
You can enable it with below code block in .htaccess
AddType text/html .html
AddHandler common.html
Options Indexes FollowSymLinks Includes
Building Blacklist and Whitelist for specified IP adresses
Sometimes we may need some devices to ban from our websites or allow only a few IP adress can reach to our websites. Banish someone from website is called as blacklisting, the allowing just someone to our websites is called as whitelisting. With .htaccess file we can create blacklists and whitelists.
Below htaccess script you can see how to set these configurations:
At this line you can see blacklisting
#This line allows for all IP adress first and then start to deny
order allow,deny
#Here we ban the IP adress 255.255.255.1
deny from 255.255.255.1
#Here we ban the IP adress starting with 255.255.255.
deny from 255.255.255.
#And allow rest of IP adresses
allow from all
Here is another example for Whitelisting
#This line deny all IPs first and start to allow some
order deny, allow
#Here we allowed the IP adress 255.255.255.1
deny from 255.255.255.1
#Here we allowed the IP adress starting with 255.255.255.
deny from 255.255.255.
#And deny rest of IP adresses
deny from all
Also we can deny some domains:
At this line you can see blacklisting
#This line allows for all domains first and then start to deny
order allow,deny
#Here we ban the thecodeprogram.com domain
deny from thecodeprogram.com
#And allow rest of IP domains
allow from all
After this line no bot can read you website with bot webservices from thecodeprogram.com domain adress. You can protect your websites from bots with these bots.
Blocking requests by referrals:
Sometimes some websites may want to use your own images or scripties. This is called as hotlinking. With hotlinking the that website also use our hosting resources including our bandwidth. In many hostings this is enabled defaultly, So we may disable the hotlinking. We can do it with htaccess file.
Below code block is for all types of documents.
.htaccess
#enable the rewrite engine
RewriteEngine on
#this line is for blank referrals who use firewall or something like that to delete referral information.
RewriteCond %{HTTP_REFERER} !^$
#this line is for enable the related domain
RewriteCond % ^http://.*thecodeprogram.com [NC]
RewriteRule .* - [F]
So we can disable hotlinkings for some type of files, below image you can see it:
.htaccess
#enable the rewrite engine
RewriteEngine on
#this line is for blank referrals who use firewall or something like that to delete referral information.
RewriteCond %{HTTP_REFERER} !^$
#this line is for enable the related domain
RewriteCond % ^http://.*thecodeprogram.com [NC]
#this line is a warning for the forbidden visitors
RewriteRule \.(jpg|jpeg|png|gif|svg)$ http://thecodeprogram.com/forbidden-to-see.jpg [NC,R,L]
URL Directing
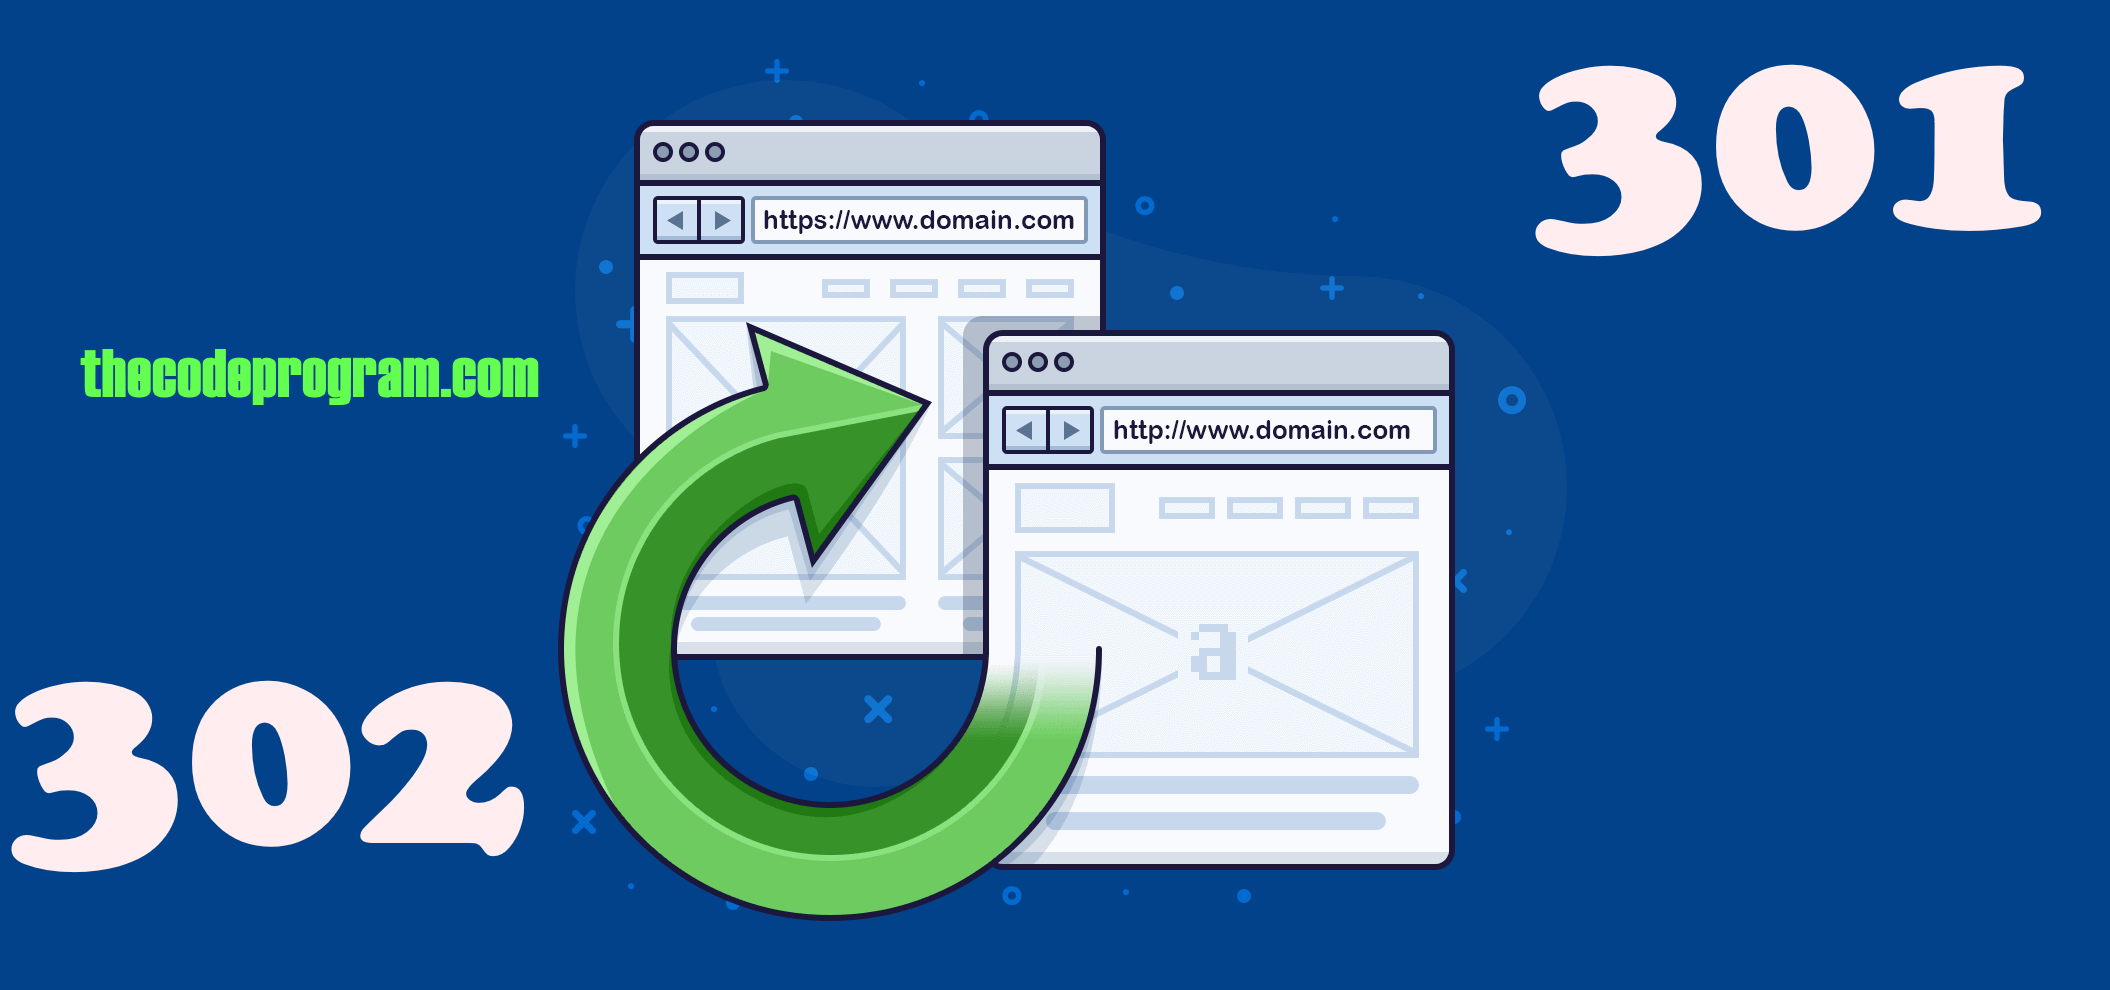
Sometimes you may need to change you domain name or some linkings. In here you can use the .htaccess file to handle this problem. First enable the RewiriteEngine.
In here you will use the browser codes. These codes are 301 and 302. Below table you will see the these error codes descriptions.
| Error Code | Error Description |
|---|---|
| 301 | Moved Permanently |
| 302 | Moven Temporarly |
RewriteEngine On
Redirect 301 /old_url target_url
For example
RewriteEngine On
Redirect 301 /old_url.html  /target_url.html
RewriteEngine On
Redirect 301 / http://new_url.com
ReWrite the url from www to non-www url.
Options +FollowSymlinks
RewriteEngine on

#This will redirect just www to non-www
RewriteCond % ^www.yourdomainm.com [NC]
RewriteRule ^(.*)$ http://yourdomain.org/$1 [R=301,NC]

#Be Careful I do not recommend this line to use because
#This will redirect all of starting to non-www including www, blog, profile ...
RewriteCond % !^yourdomain.com [NC]
RewriteRule ^(.*)$ http://yourdomain.org/$1 [R=301,NC]
Redirecting is not rewriting.
Also you can hide or show your directories from browsers directly. Below code block you can see it:
#This line hides your directories from browsers
Options -Indexes
#This line shows your directories from browsers
Options +Indexes
And also you can hide some files or some type of files.
#to hide all of png and jpg images
IndexIgnore *.png *.jpg
# to hide single image
IndexIgnore hidden_image.jpg
Also you can add an XSS protection via .htaccess file. Below code block you can see it.

# Extra Security Headers
# X-Content-Type nosniff
# X-Frame-Options
# X-XSS-Protection
<IfModule mod_headers.c>
	Header set X-XSS-Protection "1; mode=block"
	Header always append X-Frame-Options SAMEORIGIN
	Header set X-Content-Type-Options nosniff
</IfModule>
I have talked what I know about .htaccess file and what can we do with the .htaccess file for our website.
That is all in this article.
Have a good managing your website.
Burak Hamdi TUFAN
Tags
Share this Post
Author

I am a software developer experienced 15 years and here to share all my programming experiences. I have worked on so many platforms and programming languages especially C, C#, C++ and Java. I am studing PhD at Kocaeli University on Aviation Technologies. I am building softwares and technologies on aviation.

Build Your Own Custom Captcha in PHP


Comments