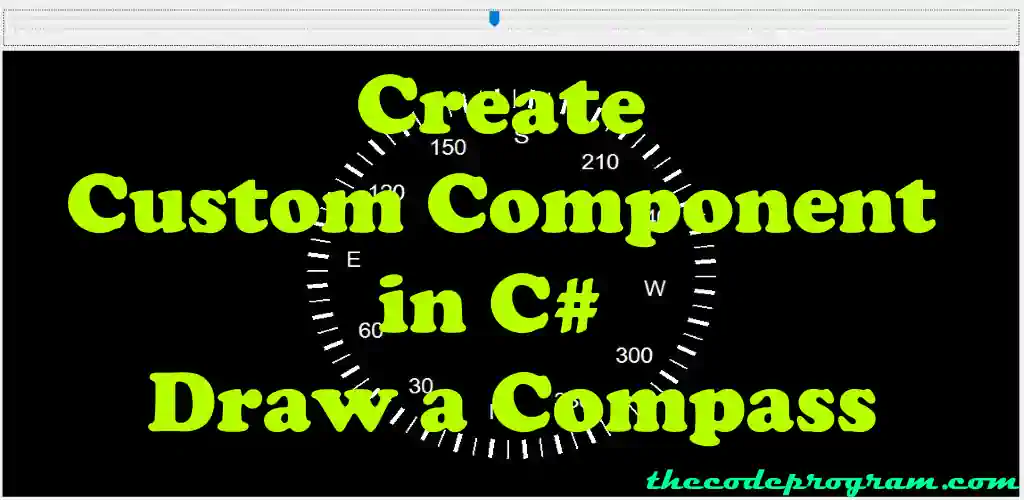
Create Custom Component in C# - Draw a Compass
Hello everyone, in this article we are going to create a custom component with C# in Visual Studio. We are going to create an Aircraft Compass Component and we use it in our winform application.Let's begin.
Before we starting, I strongly recommend to take a look at below article if you have no idea how to create a Custom Component with C# in Visual Studio. I talked about it before.
How to create custom components in CSharp (C#)
And now we are ready to drag-drop the component on the form and write some code to create our custom compass.
public static double charSpread(double swidth)
{
     return swidth / 6;
}
Now let's write the compass drawing method in CustomCompass class related method.
public Bitmap DrawCompass(double degree)
{
     //...
}
Firstly we are going to create our configuration variables:
First we need to know the component size.
Then we create an image object and then a graphic object from this image.
We needgraphic object to make some drawings which in need for a compass
Set a black background for the compass
Size s = this.Size;

Bitmap compassImage = new Bitmap(s.Width, s.Height);
Graphics g = Graphics.FromImage(compassImage);

SolidBrush blackBrush = new SolidBrush(Color.Black);
Rectangle rect = new Rectangle(0, 0, compassImage.Width, compassImage.Height);
g.FillRectangle(blackBrush, rect);
In here first we are going to declare some essential variables.
double maxRadius = s.Width > s.Height ? s.Height / 2 : s.Width / 2;
double sizeRatio = maxRadius / 360;
double outerradius = maxRadius - sizeRatio * 60;
double innerradius = maxRadius - sizeRatio * 90;
double markingsRadius = maxRadius - sizeRatio * 135;
Font font1 = new Font("Arial", (float)(25 * sizeRatio));
SolidBrush brushWhite = new SolidBrush(Color.FromArgb(255, 255, 255));
Pen penThick = new Pen(Color.FromArgb(255, 255, 255), ((int)(sizeRatio) < 5 ? 5 : (int)(sizeRatio)));
Pen penThin = new Pen(Color.FromArgb(255, 255, 255), ((int)(sizeRatio) < 2 ? 2 : (int)(sizeRatio)));
int xCenter = (int)(s.Width / 2);
int yCenter = (int)((s.Height / 2));
double[] Cos = new double[360];
double[] Sin = new double[360];
for (int a = 0; a < 360; a++)
{
        double curAngle = ((a - 90d) - degree) / 180F * Math.PI;
        Cos[a] = Math.Cos(curAngle);
        Sin[a] = Math.Sin(curAngle);
}
All codes after this section will be inside of below FOR LOOP
.
            for (int d = 0; d < 360; d += 5)
            {
                        //...
                        //...
            }
Point pOuter = new Point((int)(outerradius * Cos[d]) + xCenter, (int)(outerradius * Sin[d]) + yCenter);
Point pInner = new Point((int)(innerradius * Cos[d]) + xCenter, (int)(innerradius * Sin[d]) + yCenter);
//Here I will locate the text as the same logic above.
Point pMarkings = new Point((int)(markingsRadius * Cos[d]) + xCenter, (int)(markingsRadius * Sin[d]) + yCenter);
//Additionally I will center the text otherwise it will not located at the next of the compass line
SizeF s1 = g.MeasureString(d.ToString(), font1);
pMarkings.X = pMarkings.X - (int)(s1.Width / 2);
pMarkings.Y = pMarkings.Y - (int)(s1.Height / 2);
                if (d % 10 == 0)
                {
                    //It will draw the line whatever happens at every multiplied by 10
                    g.DrawLine(penThick, pOuter, pInner);

                    //At Every 30 degress it will text the marking numbers.
                    if (d % 30 == 0)
                    {
                        //And every 90 degrees it will check and text main directions if it is
                        if (d % 90 == 0)
                        {
                            switch (d)
                            {
                                case 0:
                                case 360:
                                    g.DrawString("N", font1, brushWhite, pMarkings);
                                    break;
                                case 90:
                                    g.DrawString("E", font1, brushWhite, pMarkings);
                                    break;
                                case 180:
                                    g.DrawString(" S", font1, brushWhite, pMarkings);
                                    break;
                                case 270:
                                    g.DrawString("W", font1, brushWhite, pMarkings);
                                    break;
                            }
                        }
                        else //if current degree is not a main direction, it will write the degree
                            g.DrawString(d.ToString(), font1, brushWhite, pMarkings);
                    }
                }
else if (d % 5 == 0)
{
      g.DrawLine(penThin, pOuter, pInner);
}
//Return the built compass image.
return compassImage;
At our component class we are going to declare a heading variable and an override method as OnPaintBackground. We will have an Update method which will take the command the Heading value from the other classes. UpdateCompass method will take the Heading value and update it in this component. And then it will update the compass.
private int Heading = 0;

 protected override void OnPaintBackground(PaintEventArgs pevent)
{
      base.OnPaintBackground(pevent);
      //And lastly we are calling the Bitmap method on Painting Background override method to show it.
       pevent.Graphics.DrawImage(this.DrawCompass(this.Heading), new Point(0, 0));
}

//This function is required to refresh this component
public void UpdateCompass(int _heading)
{
      this.Heading = _heading;
      this.Refresh();
}
private void trackBar1_ValueChanged(object sender, EventArgs e)
{
     customCompass1.UpdateCompass(trackBar1.Value);
}

private void Form1_Resize(object sender, EventArgs e)
{
     customCompass1.UpdateCompass(trackBar1.Value);
}

That is all in this article.
You can find the example application on Github : https://github.com/thecodeprogram/CustomCompassComponent_Example
Have greate finding the directions with great compasses.
Burak Hamdi TUFAN
Tags
Share this Post
Author

I am a software developer experienced 15 years and here to share all my programming experiences. I have worked on so many platforms and programming languages especially C, C#, C++ and Java. I am studing PhD at Kocaeli University on Aviation Technologies. I am building softwares and technologies on aviation.

C# Interface Explanation with Example


Comments
Nice example, especially sometimes I confused on using imaging libraries in C#, this example is long but really good :)
2020/06/29 20:25:37