STM32F4 Timers and PWM Generation With Std Periph
Hi everyone, in this article we will talk about TIMERS and how can we generate PWM signals on STM32F4 microprocessors. Now lets get started to workFirstly I want to talk about what are TIMERS and PWM signal.
What is TIMER The timer peripheral is part of the basic set of peripherals that are built into all STM32 microcontrollers. They can be used for any purpose related to the timer and counter and are so called. PWM generation, input capture, time base generation, and output comparison are basic uses of a GP timer. Usually in an STM32 microcontroller you will find more GP timers than other timer classes. Studying GP timers clears the basic concepts.
What is PWM signal Pulse width modulation (PWM) is a modulation process or technique used in most communication algorithms to encode the amplitude of a signal to a pulse width or duration of a signal width, the duration of another signal, usually a carrier signal. Although PWM is also used in communication, its main purpose is to control the power supplied to a variety of electrical devices, particularly idle loads such as AC / DC motors.
Now lets get started to coding.
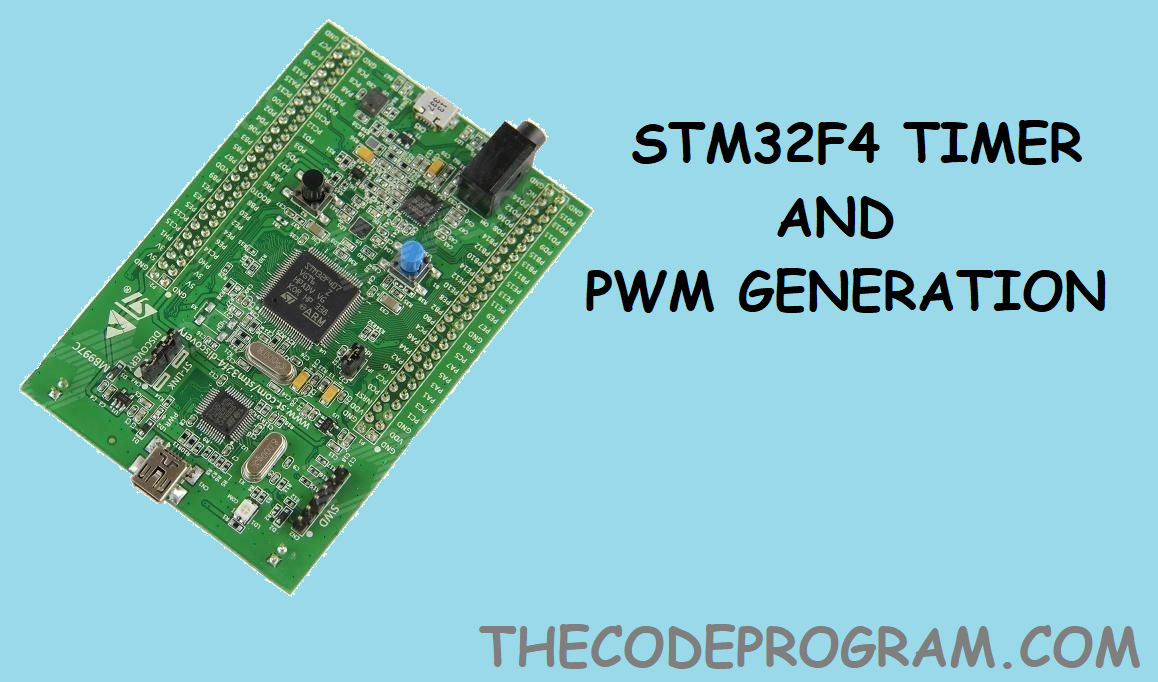
I will use the TIM4 hardware and PD12, PD13, PD14, PD15 pins on STM32F4-Discovery board.
I will use PWM generation for my drone's motor controlling. So I will define these pins as engines. Here the my defines :
#define ENGINE_1_GPIO_PORT GPIOD
#define ENGINE_2_GPIO_PORT GPIOD
#define ENGINE_3_GPIO_PORT GPIOD
#define ENGINE_4_GPIO_PORT GPIOD

#define ENGINE_1_GPIO_PIN GPIO_Pin_12
#define ENGINE_2_GPIO_PIN GPIO_Pin_13
#define ENGINE_3_GPIO_PIN GPIO_Pin_14
#define ENGINE_4_GPIO_PIN GPIO_Pin_15

#define ENGINE_1_GPIO_PIN_SOURCE GPIO_PinSource12
#define ENGINE_2_GPIO_PIN_SOURCE GPIO_PinSource13
#define ENGINE_3_GPIO_PIN_SOURCE GPIO_PinSource14
#define ENGINE_4_GPIO_PIN_SOURCE GPIO_PinSource15
First we are going to declare the TIMER variables to initiate and configure timers.
GPIO_InitTypeDef            GPIO_InitStructure;
	TIM_TimeBaseInitTypeDef     TIM_TimeBaseInitStructure;
	TIM_OCInitTypeDef           TIM_OCInitStructure;
And keep values of current engine RPM values:
uint16_t commandedEngine1RPM= 0;
uint16_t commandedEngine2RPM= 0;
uint16_t commandedEngine3RPM= 0;
uint16_t commandedEngine4RPM= 0;
And then start the timer and GPIO's periphals.
RCC_APB1PeriphClockCmd(RCC_APB1Periph_TIM4, ENABLE);
	RCC_AHB1PeriphClockCmd(RCC_AHB1Periph_GPIOB, ENABLE);
First I will share the PWM and TIMER configuration code and explain it part by part.
void config_PWM(void){
	GPIO_InitTypeDef            GPIO_InitStructure;
	TIM_TimeBaseInitTypeDef     TIM_TimeBaseInitStructure;
	TIM_OCInitTypeDef           TIM_OCInitStructure;

	RCC_APB1PeriphClockCmd(RCC_APB1Periph_TIM4, ENABLE);
	RCC_AHB1PeriphClockCmd(RCC_AHB1Periph_GPIOB, ENABLE);

	GPIO_InitStructure.GPIO_Pin    = ENGINE_1_GPIO_PIN | ENGINE_2_GPIO_PIN | ENGINE_3_GPIO_PIN | ENGINE_4_GPIO_PIN;
	GPIO_InitStructure.GPIO_Mode   = GPIO_Mode_AF;
	GPIO_InitStructure.GPIO_Speed  = GPIO_Speed_100MHz;
	GPIO_InitStructure.GPIO_OType  = GPIO_OType_PP;
	GPIO_InitStructure.GPIO_PuPd   = GPIO_PuPd_UP;

	GPIO_Init(ENGINE_1_GPIO_PORT, &GPIO_InitStructure);

	GPIO_PinAFConfig(ENGINE_1_GPIO_PORT, ENGINE_1_GPIO_PIN_SOURCE, GPIO_AF_TIM4);
	GPIO_PinAFConfig(ENGINE_2_GPIO_PORT, ENGINE_2_GPIO_PIN_SOURCE, GPIO_AF_TIM4);
	GPIO_PinAFConfig(ENGINE_3_GPIO_PORT, ENGINE_3_GPIO_PIN_SOURCE, GPIO_AF_TIM4);
	GPIO_PinAFConfig(ENGINE_4_GPIO_PORT, ENGINE_4_GPIO_PIN_SOURCE, GPIO_AF_TIM4);

	uint16_t PrescalerValue = (uint16_t)84;

	TIM_TimeBaseInitStructure.TIM_Period = 12999;  //  125us = 8kH
	TIM_TimeBaseInitStructure.TIM_Prescaler = PrescalerValue  ;
	TIM_TimeBaseInitStructure.TIM_ClockDivision = 0;
	TIM_TimeBaseInitStructure.TIM_CounterMode = TIM_CounterMode_Up;
	TIM_TimeBaseInit(TIM4, &TIM_TimeBaseInitStructure);

	TIM_OCInitStructure.TIM_OCMode  = TIM_OCMode_PWM1;
	TIM_OCInitStructure.TIM_OutputState= TIM_OutputState_Enable;
	TIM_OCInitStructure.TIM_Pulse = 0;
	TIM_OCInitStructure.TIM_OCPolarity = TIM_OCPolarity_High;


	TIM_OC1Init(TIM4, &TIM_OCInitStructure);
	TIM_OC1PreloadConfig(TIM4, TIM_OCPreload_Enable);

	TIM_OC2Init(TIM4, &TIM_OCInitStructure);
	TIM_OC2PreloadConfig(TIM4, TIM_OCPreload_Enable);

	TIM_OC3Init(TIM4, &TIM_OCInitStructure);
	TIM_OC3PreloadConfig(TIM4, TIM_OCPreload_Enable);

	TIM_OC4Init(TIM4, &TIM_OCInitStructure);
	TIM_OC4PreloadConfig(TIM4, TIM_OCPreload_Enable);

	TIM_ARRPreloadConfig(TIM4, ENABLE);

	TIM_Cmd(TIM4, ENABLE);

}
Now we need to configure PWM pins for generating PWM signal. To do this first configure them with GPIO and dedicate them to alternate function. After setting the configuration now it is time to init our GPIO settings. Here is the code block will do this :
//Here we are specifing the pins that we will use to generate PWM signal
GPIO_InitStructure.GPIO_Pin    = ENGINE_1_GPIO_PIN | ENGINE_2_GPIO_PIN | ENGINE_3_GPIO_PIN | ENGINE_4_GPIO_PIN;
//Here we set the pin mode as Alternate function
GPIO_InitStructure.GPIO_Mode   = GPIO_Mode_AF;
//Here we set the pin running frequency and pupd settings
GPIO_InitStructure.GPIO_Speed  = GPIO_Speed_100MHz;
GPIO_InitStructure.GPIO_OType  = GPIO_OType_PP;
GPIO_InitStructure.GPIO_PuPd   = GPIO_PuPd_UP;
//here we init the pins and their ports
//I have write here ENGINE_1GPIO_PORT, all engines onthe same PORT so we can write whatever engine's port we want.
GPIO_Init(ENGINE_1_GPIO_PORT, &GPIO_InitStructure);
After making configurations and inititation of the these pins now we must specify their alternate functions. Here we are going to set alternate function as TIMER. Here is the code block:
GPIO_PinAFConfig(ENGINE_1_GPIO_PORT, ENGINE_1_GPIO_PIN_SOURCE, GPIO_AF_TIM4);
GPIO_PinAFConfig(ENGINE_2_GPIO_PORT, ENGINE_2_GPIO_PIN_SOURCE, GPIO_AF_TIM4);
GPIO_PinAFConfig(ENGINE_3_GPIO_PORT, ENGINE_3_GPIO_PIN_SOURCE,  PIO_AF_TIM4);
GPIO_PinAFConfig(ENGINE_4_GPIO_PORT, ENGINE_4_GPIO_PIN_SOURCE, GPIO_AF_TIM4);
We have configured the TIMER and pin function. Now it is time to set our PWM generation settings. To do this we need to decide the values of Prescaler, Period, and counter. Here is the code block to set the PWM generation specifications :
//here we set the Prescaler Value
uint16_t PrescalerValue = (uint16_t)84;

//here we set the peiod value of timer
TIM_TimeBaseInitStructure.TIM_Period = 12999;  										//  125us = 8kHz
TIM_TimeBaseInitStructure.TIM_Prescaler = PrescalerValue  ;
//If we want to divide our clock frequency specify here
//We have prescaler so we do not need to divide the clock value again
TIM_TimeBaseInitStructure.TIM_ClockDivision = 0;
TIM_TimeBaseInitStructure.TIM_CounterMode = TIM_CounterMode_Up;
//Here we init the the Timer configuration
TIM_TimeBaseInit(TIM4, &TIM_TimeBaseInitStructure);

//Here we set the timer OC settings
TIM_OCInitStructure.TIM_OCMode  = TIM_OCMode_PWM1;
TIM_OCInitStructure.TIM_OutputState= TIM_OutputState_Enable;
TIM_OCInitStructure.TIM_Pulse = 0;
TIM_OCInitStructure.TIM_OCPolarity = TIM_OCPolarity_High;

//And now we will set these configurations to all pwm outputs.
TIM_OC1Init(TIM4, &TIM_OCInitStructure);
TIM_OC1PreloadConfig(TIM4, TIM_OCPreload_Enable);

TIM_OC2Init(TIM4, &TIM_OCInitStructure);
TIM_OC2PreloadConfig(TIM4, TIM_OCPreload_Enable);

TIM_OC3Init(TIM4, &TIM_OCInitStructure);
TIM_OC3PreloadConfig(TIM4, TIM_OCPreload_Enable);

TIM_OC4Init(TIM4, &TIM_OCInitStructure);
TIM_OC4PreloadConfig(TIM4, TIM_OCPreload_Enable);

//Here our timer PWM generation is ready
TIM_ARRPreloadConfig(TIM4, ENABLE);

//Here timer configuration is enabled.
TIM_Cmd(TIM4, ENABLE);
Now we are ready to write codes in main function. First we will call the config_PWM method to set and start PWM and then we will set the PWM values in our while section. So we can read some sensors and set the calculated values from sensores to the engine outputs. Lets make some show now. Here is the our main function and while section :
int main()
{
	//we have created this method above
	config_PWM();
	while(1)
	{
		//Make some calculations here and set the engine RPM values
		TIM4->CCR1 = commandedEngine1RPM;
		TIM4->CCR2 = commandedEngine2RPM;
		TIM4->CCR3 = commandedEngine3RPM;
		TIM4->CCR4 = commandedEngine4RPM;

	}
}
That is all in this article.
Keep following my articles.
Have a nice coding.
Burak Hamdi TUFAN


Comments
hii, why did you activate rcc for GPIO port B, is this code works properly?
2021/04/25 15:26:08Hello, It seems I only activated it and there is no usage. Probably, I was going to use GPIOB port for some additional purposes and than I changed my mind.
2021/04/26 02:18:57